
Fireplace Maintenance Between Sweeps: 6 DIY Habits
| Factor | Older/historic masonry | Modern masonry |
|---|---|---|
| Mortar binder | Lime-based, low or no Portland cement | Portland-cement-based, harder curing |
| Mortar flexibility | Softer, some self-healing of hairline cracks | Rigid once cured, cracks stay cracked |
| Brick type | Handmade or soft-mud, lower fire temperature | Extruded, wire-cut, higher fire temperature |
| Brick porosity | More absorbent, prone to spalling | Denser, less water uptake |
| Typical liner status | Often unlined, undersized, or original clay tile | Liner sized and installed to current standards |
| Repair priority | Match mortar chemistry, not just color | Standard modern mortar mixes generally compatible |
| Common failure pattern | Brick face spalling; joint self-healing can mask real deterioration | Joint cracking tends to precede brick damage |
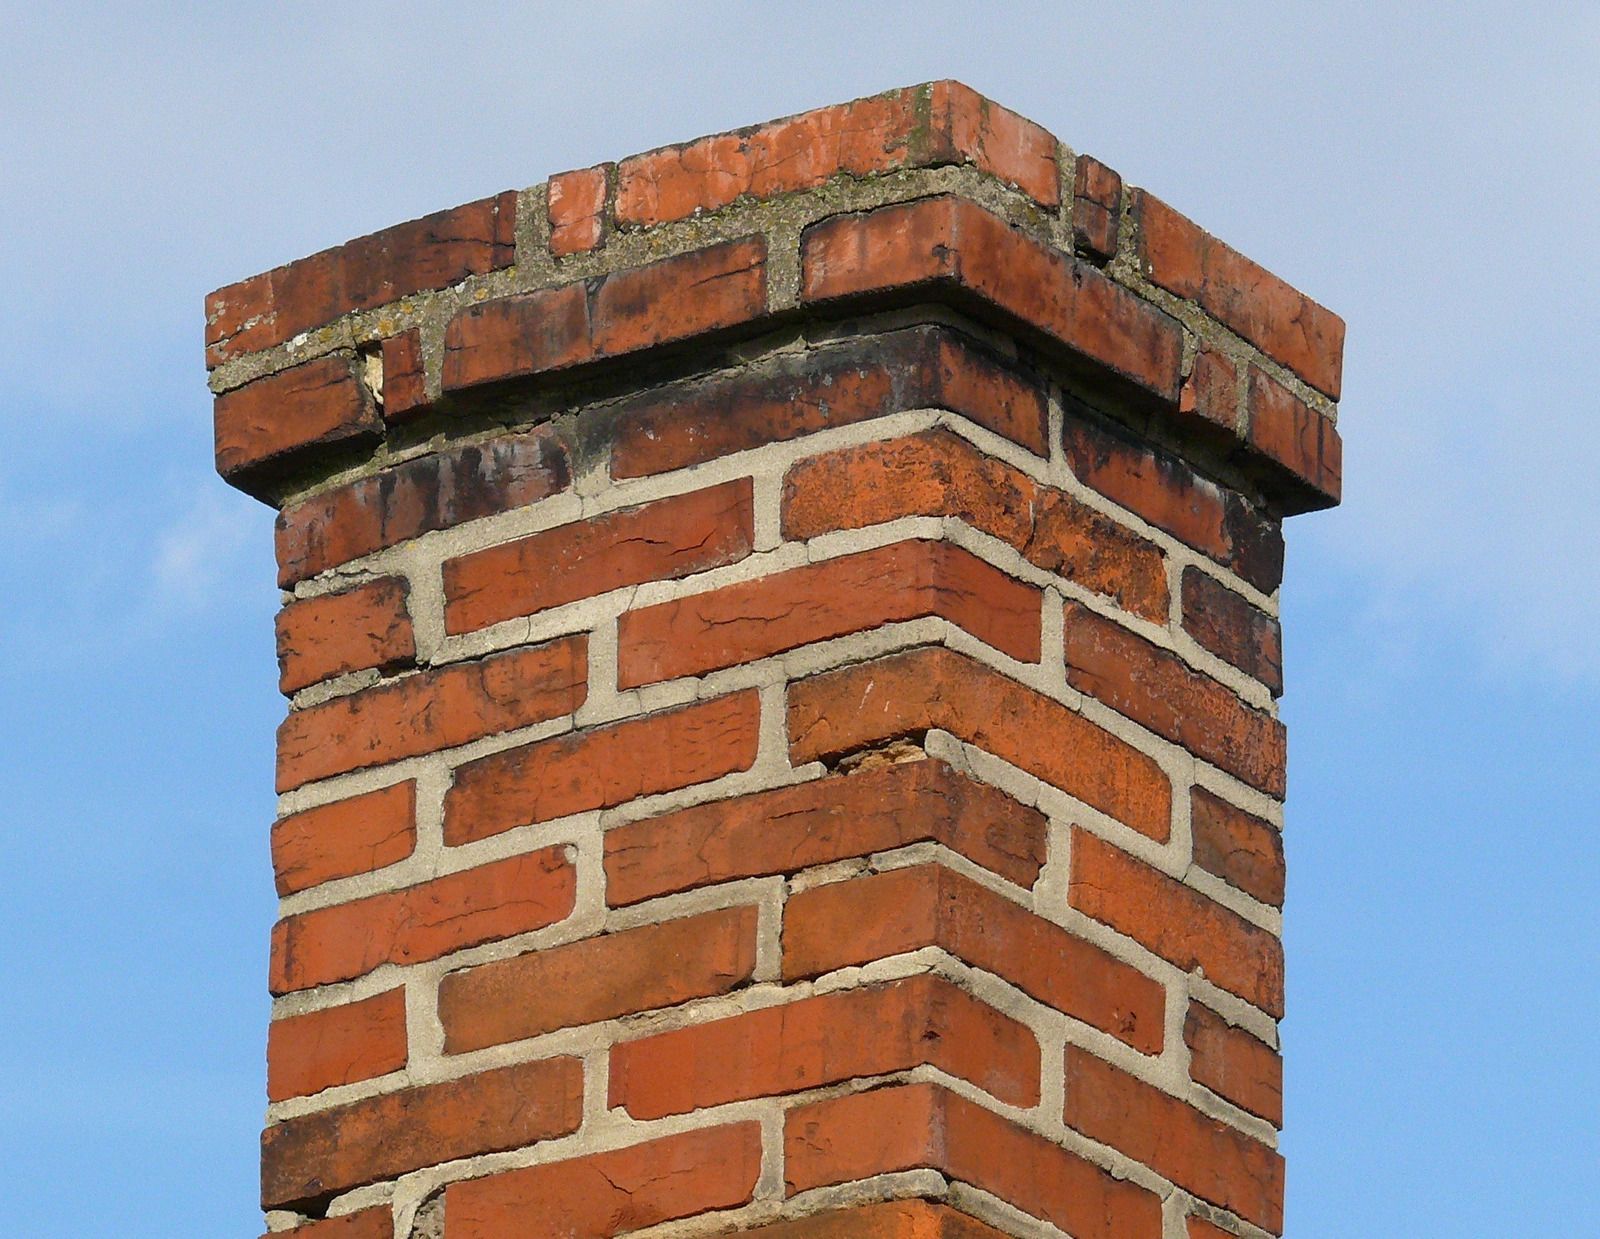
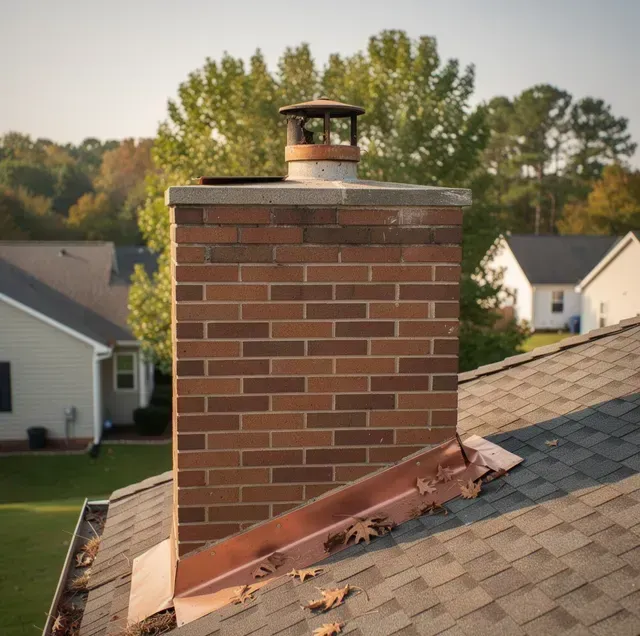
Older chimneys were often built on shallower footings than current standards call for, and after decades of ground movement and the chimney's own weight, some settling is common: a slight lean, a visible gap where the chimney meets the roofline, or a stair-step crack pattern following the mortar joints diagonally. A small, stable lean or an old, dormant crack isn't automatically an emergency, but telling "old and stable" from "active and worsening" benefits from a hands-on inspection rather than a guess from the ground.
A technician can often get a first read on mortar type without lab testing. Dragging a metal key or nail across a joint that leaves a visible scratch and a little powder points toward a softer, lime-rich mix, while a joint that resists scratching and holds a sharp edge points toward a harder, Portland-heavy mix. This test doesn't replace a proper inspection or lab analysis of the actual composition, but it's a useful first check before assuming a chimney can be treated like standard modern construction.
The damper is the movable plate that opens and closes the path between the firebox and the flue above it. Traditional dampers are a hinged metal flap mounted at the throat, right in front of the smoke shelf at essentially the same level; newer systems often use a top-mount damper instead, a sealing plate at the very top of the flue operated by a cable or lever from the firebox. The damper's job: it closes off the flue when there's no fire burning, so conditioned indoor air doesn't pour straight up the chimney, and it opens fully to let smoke and gases draft out when you do have a fire going. A damper that won't seat properly, whether warped, rusted, or coated in old creosote, wastes energy and can also affect how well a fireplace drafts once lit.
Hearth Extension
When a Post-Renovation Inspection Is (and Isn't) Warranted
The ash bed is deeper than it was last week. The glass on the insert has that gray haze that wipes off but always comes back. A few pieces of bark and wood debris have collected on the hearth floor, and you've been meaning to vacuum around it for days. None of this is an emergency. None of it needs a truck and a technician. It's just the small, ongoing upkeep that happens between the visits that actually matter, the day-to-day stuff that keeps a fireplace pleasant to use and easy to inspect when your annual appointment does come around.
A lot of homeowners either ignore this middle ground entirely, letting ash and grime pile up until the next professional visit, or overcorrect and start poking around inside the flue with tools that belong to a trained sweep. Neither is necessary. There's a real category of maintenance that's yours to handle safely, with basic tools, a few times a month during burning season. Here's what belongs on that list, how to do it without making a mess or a mistake, and where your job stops and a CSIA-certified technician's job begins.
Manage the Ash Bed Instead of Emptying It Every Time
Resist the urge to scrape the firebox down to bare metal or brick after every fire. A thin layer of ash, roughly half an inch to an inch, actually helps: it insulates the coals underneath, holds heat longer, and gives new fires a bed to catch on more easily. What you're managing isn't "all ash gone"; it's keeping that layer from building past two or three inches, which is when it starts crowding the grate, blocking airflow from below, and in some fireplace designs, sitting close enough to the andirons or grate legs to affect how evenly a fire burns.
Once the bed gets too deep, scoop the excess into a metal ash bucket with a lid, leaving that thin working layer behind. A standard fireplace shovel and a stiff, natural-bristle hearth brush handle this fine; wire brushes can scratch masonry and firebox liners over time. Do this only when the ashes are fully cold, and give them longer than you'd think. Coals can hold enough heat to reignite for 24 to 72 hours after a fire looks completely out, especially in a deep pile where the center stays insulated from air.
Dispose of Cold Ash the Way It's Actually Meant to Be Handled
This is the step people get wrong most often, and it's a real fire-starting hazard, not a minor inconvenience. Ash goes into a metal container with a tight-fitting lid, never a cardboard box, a plastic bin, or a paper bag, all of which can smolder and ignite from residual heat you can't see or feel from the outside. Set that metal container on a non-combustible surface, concrete or bare dirt rather than a wood deck or a garage floor, and keep it at least ten feet from the house, any structure, mulch beds, or dry leaves. Leave it there for several days before you fold the ash into a compost pile or discard it in regular trash. If you burn through a full cord or more of wood in a season, checking the bed roughly twice a month during the coldest, heaviest-burning stretch is a reasonable rhythm to use as a reminder. However, it's the two-to-three-inch depth, not the calendar, that actually determines whether it's time for a scoop-out.
Wipe Down the Firebox and Exterior Surfaces
Between visits, take a dry or barely damp cloth to the firebox surround, the mantel, and any exposed brick, stone, or metal facing that collects soot film and handling marks. Soot is mildly acidic and, left to sit, can etch into lighter-colored stone or discolor painted surfaces over months of exposure. A soft brush or vacuum with a brush attachment works well on textured brick or stone where soot settles into the mortar joints and surface pores. Skip harsh chemical cleaners on masonry unless the product is specifically labeled safe for fireplace stone or brick, and never spray any cleaner directly into the firebox or up toward the damper, since overspray can drift into the flue opening and leave residue you can't see or reach.
Clean Glass Doors and Screens the Right Way
Both wood-burning inserts and gas units accumulate a filmy haze on the glass, soot for wood, and a lighter mineral or combustion film for gas. For wood-burning glass, the classic trick actually works: dampen a paper towel or soft cloth, dip it in cold ash from the firebox itself, and rub the paste gently over the glass in small circles, then wipe clean with a dry cloth. The ash acts as a very mild, natural abrasive. For stubborn buildup, a dedicated fireplace glass cleaner works better than an ammonia-based household glass cleaner, which can leave streaking on the ceramic glass used in most inserts.
Gas fireplace glass is a different situation and deserves more caution. Never clean gas glass while the unit has been running recently, since ceramic glass on a gas insert can stay hot enough to cause a burn for an extended period after shutoff. Once it's fully cool, wipe the outside of the glass with a soft cloth and a cleaner rated for ceramic glass without removing the panel itself; gas glass panels seal the combustion chamber, and taking one off is a job for a technician who can safely reset that seal afterward, not a between-sweeps DIY step. Screens and mesh curtains need a vacuum brush attachment or a wipe with a dry cloth to clear built-up dust and soot, and it's worth checking that the screen still sits flush in its track while you're at it, since a warped or gapping screen lets embers pop past it onto the hearth floor.
Vacuum and Inspect the Hearth Area Weekly During Burning Season
The hearth extension, the noncombustible floor pad in front of the firebox opening, catches stray ash, bark, splinters, and the occasional ember that pops clear of the fire. A quick vacuum with a shop vac or a canister vacuum's brush attachment once a week during active burning keeps this debris from working into carpet fibers or wood flooring at the hearth's edge, and it's your chance to glance for embers that landed outside the firebox and cooled without your noticing. Check that logs, kindling, and any decorative items on the mantel or nearby furniture haven't crept closer to the opening than the several feet of clearance most fireplace manufacturers and fire-safety groups recommend as a baseline. This is also a good moment to make sure nothing- a rug corner, a stack of kindling, a pet bed- has migrated into that clearance zone since the last time you checked.
Watch for New Cracks or Debris, But Don't Touch the Flue
Between professional visits, your job with the parts you can actually see is to look, not to fix. Every few weeks, glance at the firebox floor and walls for new cracks, chipped brick, or spalling, the flaking or crumbling surface damage that shows up on masonry exposed to repeated heat and moisture cycling. Note anything new compared to what you remember from your last inspection or sweep. A fine, stable network of hairline mortar lines that looks the same as it did last month is common and not urgent, but a crack that's new since your last look, or one that's visibly widened, is exactly the kind of thing worth a call rather than a wait.
What's off-limits for DIY: the flue itself, the damper mechanism's internal hardware, and anything resembling creosote removal. Creosote sweeping requires rotating brushes, rods, and often a camera scan to confirm the flue is actually clear, not just clear at the opening, and a damper that's sticking or not seating fully closed is a job for someone who can access and service the hardware without risking damage to the plate or the surrounding masonry. If you see debris, leaves, a hint of nesting material, or a sheen on the flue walls when you look up with a flashlight from the firebox, that's the line where your maintenance stops and a technician's begins.
Frequently Asked Questions
How often should I actually do this between professional visits?
A quick glass wipe and hearth vacuum roughly once a week during active burning, ash management every few fires or when the bed passes two to three inches, and a full wipe-down of exterior surfaces once a month covers most households. A wood stove or insert used daily through a full winter will need the ash and glass steps more often than a fireplace used only on weekends.
Can I use a shop vac to remove ash instead of a shovel?
Only if it's rated as an ash vacuum with a metal canister and a fine-particle filter; a standard shop vac's plastic components and paper filter bags aren't built to handle fine ash dust or the residual heat of coals that seem cool but aren't fully out, and both can be a fire and equipment-damage risk. Ash-rated vacuums use a metal collection canister specifically because plastic can melt or ignite from an ember you missed.
My glass has a stubborn white haze that ash and cleaner won't touch. What is that?
That's usually mineral deposits, not soot, and it shows up more on gas units from trace compounds in the combustion byproducts bonding to the glass over repeated cycles. A dedicated ceramic-glass cleaner formulated to cut mineral film, applied with more dwell time before wiping, handles most of it; if the haze is etched into the glass rather than sitting on the surface, that's a sign the panel may need professional evaluation or replacement rather than a better cleaner.
Does keeping up with this weekly upkeep mean I can stretch out the interval between professional sweeps?
No, and it's worth understanding why. A sweep is scheduled around what's building up inside the flue, generally once buildup reaches about an eighth of an inch of creosote, not around how tidy the hearth or glass looks from the room. A homeowner who vacuums religiously and one who never touches the hearth between visits can have the same amount of creosote coating the flue walls, since that process happens completely out of sight above the damper. Keep doing the visible upkeep for its own sake, but let the annual sweep and inspection schedule run independently of it.
How do I know if what I'm seeing on the firebox walls is a crack worth calling about or just normal wear?
Surface crazing, a fine network of hairline lines in the mortar joints that hasn't changed in months, is common and generally not urgent. What warrants a call is a single crack wider than about a sixteenth of an inch, one that's grown or spread since you last looked, or any spot where brick or firebrick has actually separated, shifted, or dropped loose material into the firebox. Take a photo when you first notice something so you have a comparison point the next time you check.
Should I clean the ash bucket itself, and does it matter what it's made of?
Yes, empty and wipe out the ash bucket periodically so residue doesn't build a hard, caked layer that's harder to clean later, and use one specifically rated for hot ash, typically galvanized or powder-coated steel with a gasketed lid, rather than a generic metal trash can. A rated ash bucket is built to handle sustained low-level heat without warping the lid seal, which matters since even "cold" ash can radiate residual warmth for a couple of days after a fire.
Keeping up with this level of maintenance between visits doesn't replace what a professional inspection catches. Still, it does mean fewer surprises when that visit happens, and a fireplace that stays pleasant to live with in the meantime.
Book your next professional chimney cleaning — a CSIA-certified technician handles the flue, damper hardware, and creosote removal that DIY upkeep can't safely reach. Perfect Chimney Cleaning serves Greensboro, High Point, and Winston-Salem. Call (336) 604-6711.
Recent Posts