When a Chimney Cap Is the Wrong Size, What Actually Fails
| Factor | Older/historic masonry | Modern masonry |
|---|---|---|
| Mortar binder | Lime-based, low or no Portland cement | Portland-cement-based, harder curing |
| Mortar flexibility | Softer, some self-healing of hairline cracks | Rigid once cured, cracks stay cracked |
| Brick type | Handmade or soft-mud, lower fire temperature | Extruded, wire-cut, higher fire temperature |
| Brick porosity | More absorbent, prone to spalling | Denser, less water uptake |
| Typical liner status | Often unlined, undersized, or original clay tile | Liner sized and installed to current standards |
| Repair priority | Match mortar chemistry, not just color | Standard modern mortar mixes generally compatible |
| Common failure pattern | Brick face spalling; joint self-healing can mask real deterioration | Joint cracking tends to precede brick damage |
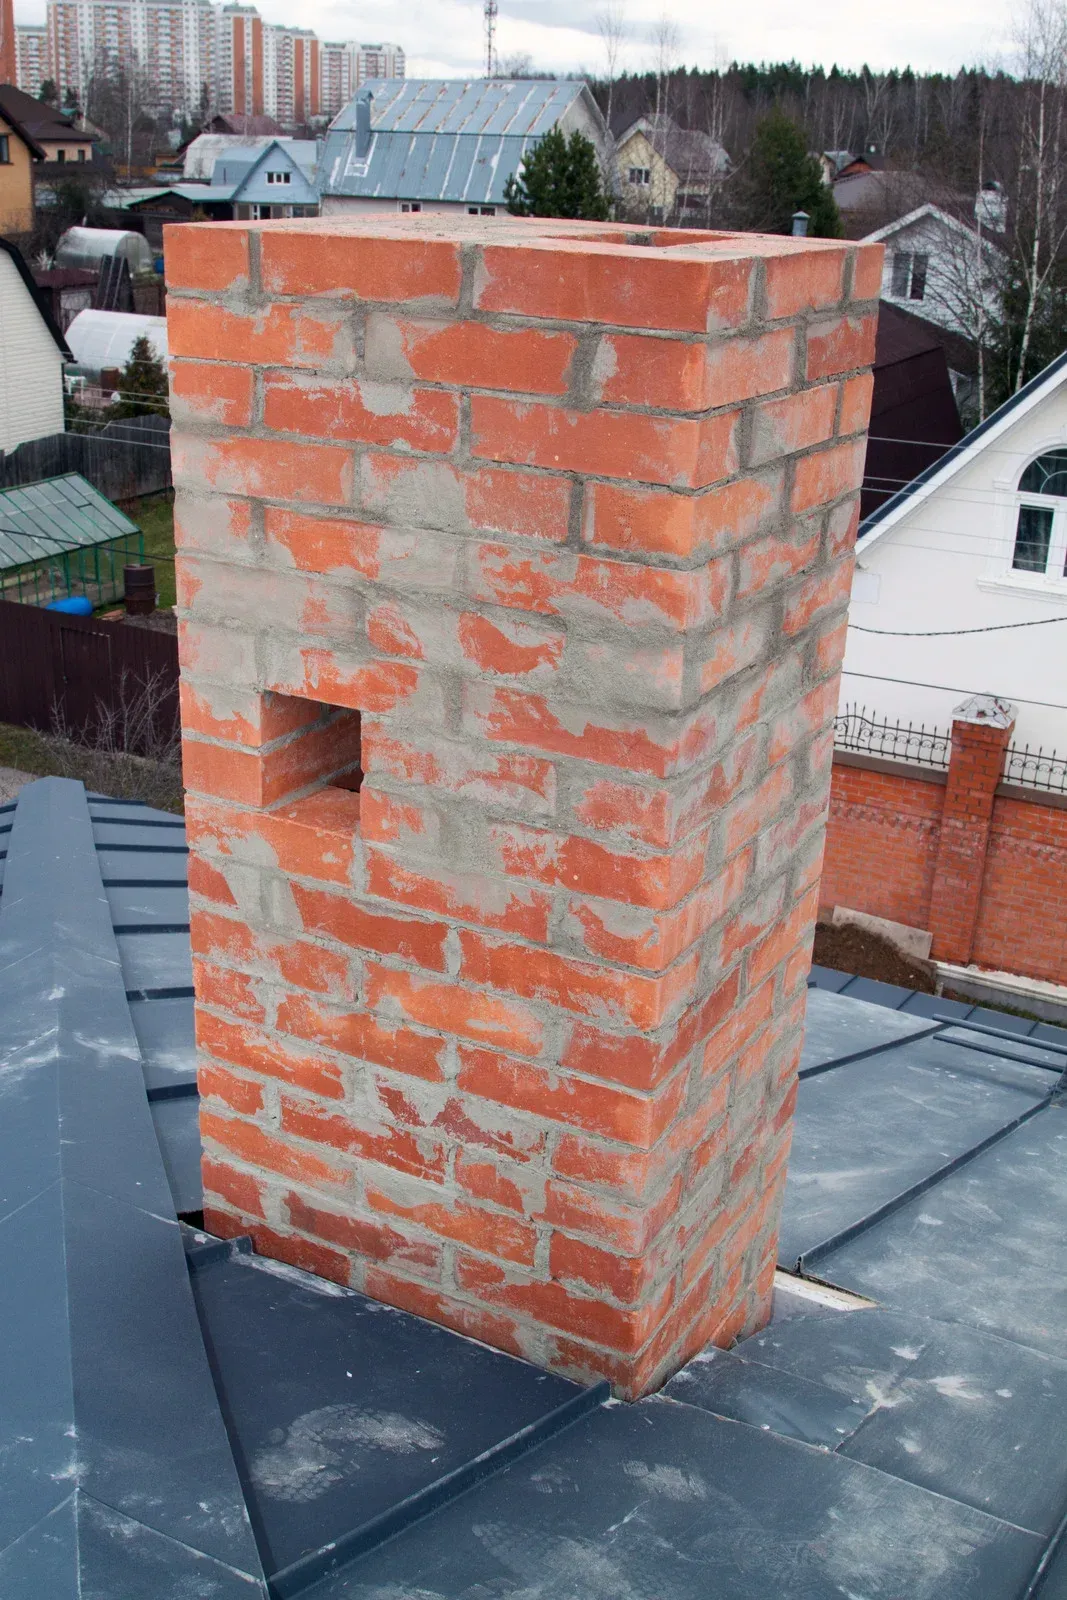
Older chimneys were often built on shallower footings than current standards call for, and after decades of ground movement and the chimney's own weight, some settling is common: a slight lean, a visible gap where the chimney meets the roofline, or a stair-step crack pattern following the mortar joints diagonally. A small, stable lean or an old, dormant crack isn't automatically an emergency, but telling "old and stable" from "active and worsening" benefits from a hands-on inspection rather than a guess from the ground.
A technician can often get a first read on mortar type without lab testing. Dragging a metal key or nail across a joint that leaves a visible scratch and a little powder points toward a softer, lime-rich mix, while a joint that resists scratching and holds a sharp edge points toward a harder, Portland-heavy mix. This test doesn't replace a proper inspection or lab analysis of the actual composition, but it's a useful first check before assuming a chimney can be treated like standard modern construction.
The damper is the movable plate that opens and closes the path between the firebox and the flue above it. Traditional dampers are a hinged metal flap mounted at the throat, right in front of the smoke shelf at essentially the same level; newer systems often use a top-mount damper instead, a sealing plate at the very top of the flue operated by a cable or lever from the firebox. The damper's job: it closes off the flue when there's no fire burning, so conditioned indoor air doesn't pour straight up the chimney, and it opens fully to let smoke and gases draft out when you do have a fire going. A damper that won't seat properly, whether warped, rusted, or coated in old creosote, wastes energy and can also affect how well a fireplace drafts once lit.
Hearth Extension
When a Post-Renovation Inspection Is (and Isn't) Warranted
The hearth extension, the noncombustible floor pad in front of the firebox opening, catches stray ash, bark, splinters, and the occasional ember that pops clear of the fire. A quick vacuum with a shop vac or a canister vacuum's brush attachment once a week during active burning keeps this debris from working into carpet fibers or wood flooring at the hearth's edge, and it's your chance to glance for embers that landed outside the firebox and cooled without your noticing. Check that logs, kindling, and any decorative items on the mantel or nearby furniture haven't crept closer to the opening than the several feet of clearance most fireplace manufacturers and fire-safety groups recommend as a baseline. This is also a good moment to make sure nothing- a rug corner, a stack of kindling, a pet bed- has migrated into that clearance zone since the last time you checked.
Waterproofing is a preventive and protective treatment for masonry that's fundamentally in good shape but exposed to the elements, not a repair for masonry that's already showing damage. If the brick or mortar has visible deterioration such as spalling, crumbling joints, or a cracked crown, that damage needs to be addressed on its own terms before waterproofing goes on top of it, since sealing over a compromised surface just locks moisture problems in rather than out. Once repairs are handled, waterproofing is a reasonable next step for extending the life of the masonry and reducing how much water it absorbs going forward, particularly on a chimney with no roof overhang or nearby shelter shielding it from direct weather. It's also a sensible addition anytime a chimney gets rebuilt or has significant tuckpointing done, since new mortar is at its most porous in the first year or two.
Reading Your Results
| Red Flag | What a Legitimate Technician Does Instead |
|---|---|
| Rock-bottom advertised price, then "mandatory" add-ons once the tech is on-site | States the base price and what could change it before the appointment; add-ons are optional and explained, not sprung |
| Claims of imminent fire or CO danger with no proof | Shows photos or video tied to the specific finding, or explains it in plain language you can follow |
| Vague or evasive about certification and training | Names the certifying body (e.g., CSIA), can describe what the credential covers |
| No mention of insurance, no findable business address | Carries liability coverage and can provide proof if asked; operates from a verifiable business |
| Refuses to show camera footage or "you wouldn't understand it" | Walks you through findings, translating technical detail into plain terms |
| "This price is only good if you sign today" | Gives you time to think it over; urgency is reserved for genuine active hazards, not routine repairs |
| Unmarked vehicle, cash-only, no paperwork | Provides a written estimate or service report you can keep |
Checking a company's standing takes a few minutes and heads off most of the above. Look up online reviews for specific complaints, not just the star rating. Confirm the business has a physical address you can find, not just a phone number. Ask about certification and insurance before scheduling, not after a technician is in your driveway. If your state or municipality licenses chimney sweeps, that license number should be something the company provides without hesitation, and a short phone call asking directly usually tells you a lot from how readily it gets answered.
Set the red flags aside for a moment, because it helps to know what you're aiming for, not just what you're avoiding. A technician doing this job the right way walks you through the visit almost like a translator: here's what I found, here's what it means, here's what happens if it's left alone versus addressed. If a camera scan turns something up, you see the footage, or at minimum get a clear description tied to a specific location in the flue, not a vague reference to "damage up there." Recommendations get written down, often in a service report you keep, so you have a record to compare against next year rather than a verbal claim you have to just remember and trust.
Pricing is explained before work starts, and changes to that price come with a reason you can follow, not a mandatory bundle sprung mid-visit. And critically, nothing about the timeline pressures you into deciding on the spot. A technician confident in the finding doesn't need you to decide before he's back in the truck.
| Symptom | Likely Cause | What to Do |
|---|---|---|
| White, chalky staining on the brick | Efflorescence: water moving through porous masonry and leaving mineral deposits behind as it evaporates | Leak detection to find the entry point, then a breathable waterproofing treatment |
| Rust stains or flaking metal around the damper or firebox | Water reaching the damper assembly, firebox, or metal chimney components | Damper inspection and repair, plus a check of the cap and crown for openings |
| Crumbling, flaking, or pitted brick faces (spalling) | Repeated saturation, worsened by freeze-thaw cycling, pushing the brick's face apart from the inside | Masonry repair, or a partial to full rebuild in advanced cases |
| Cracks or erosion in the chimney crown | The concrete or mortar wash at the top of the stack has failed, letting rain track straight into the flue | Crown repair or replacement, paired with a properly fitted cap |
| Water stains on the ceiling or wall near the fireplace | Flashing where the chimney meets the roofline has separated, corroded, or was installed poorly | Leak detection to confirm the source, then flashing repair |
| A musty, damp smell from the fireplace, especially after rain | Trapped moisture in the flue liner, firebox, or smoke chamber that never fully dries out | A Level 2 inspection of the interior, plus waterproofing if the masonry is porous |
What Comes After the Inspection
Load the Firebox Right-Sized
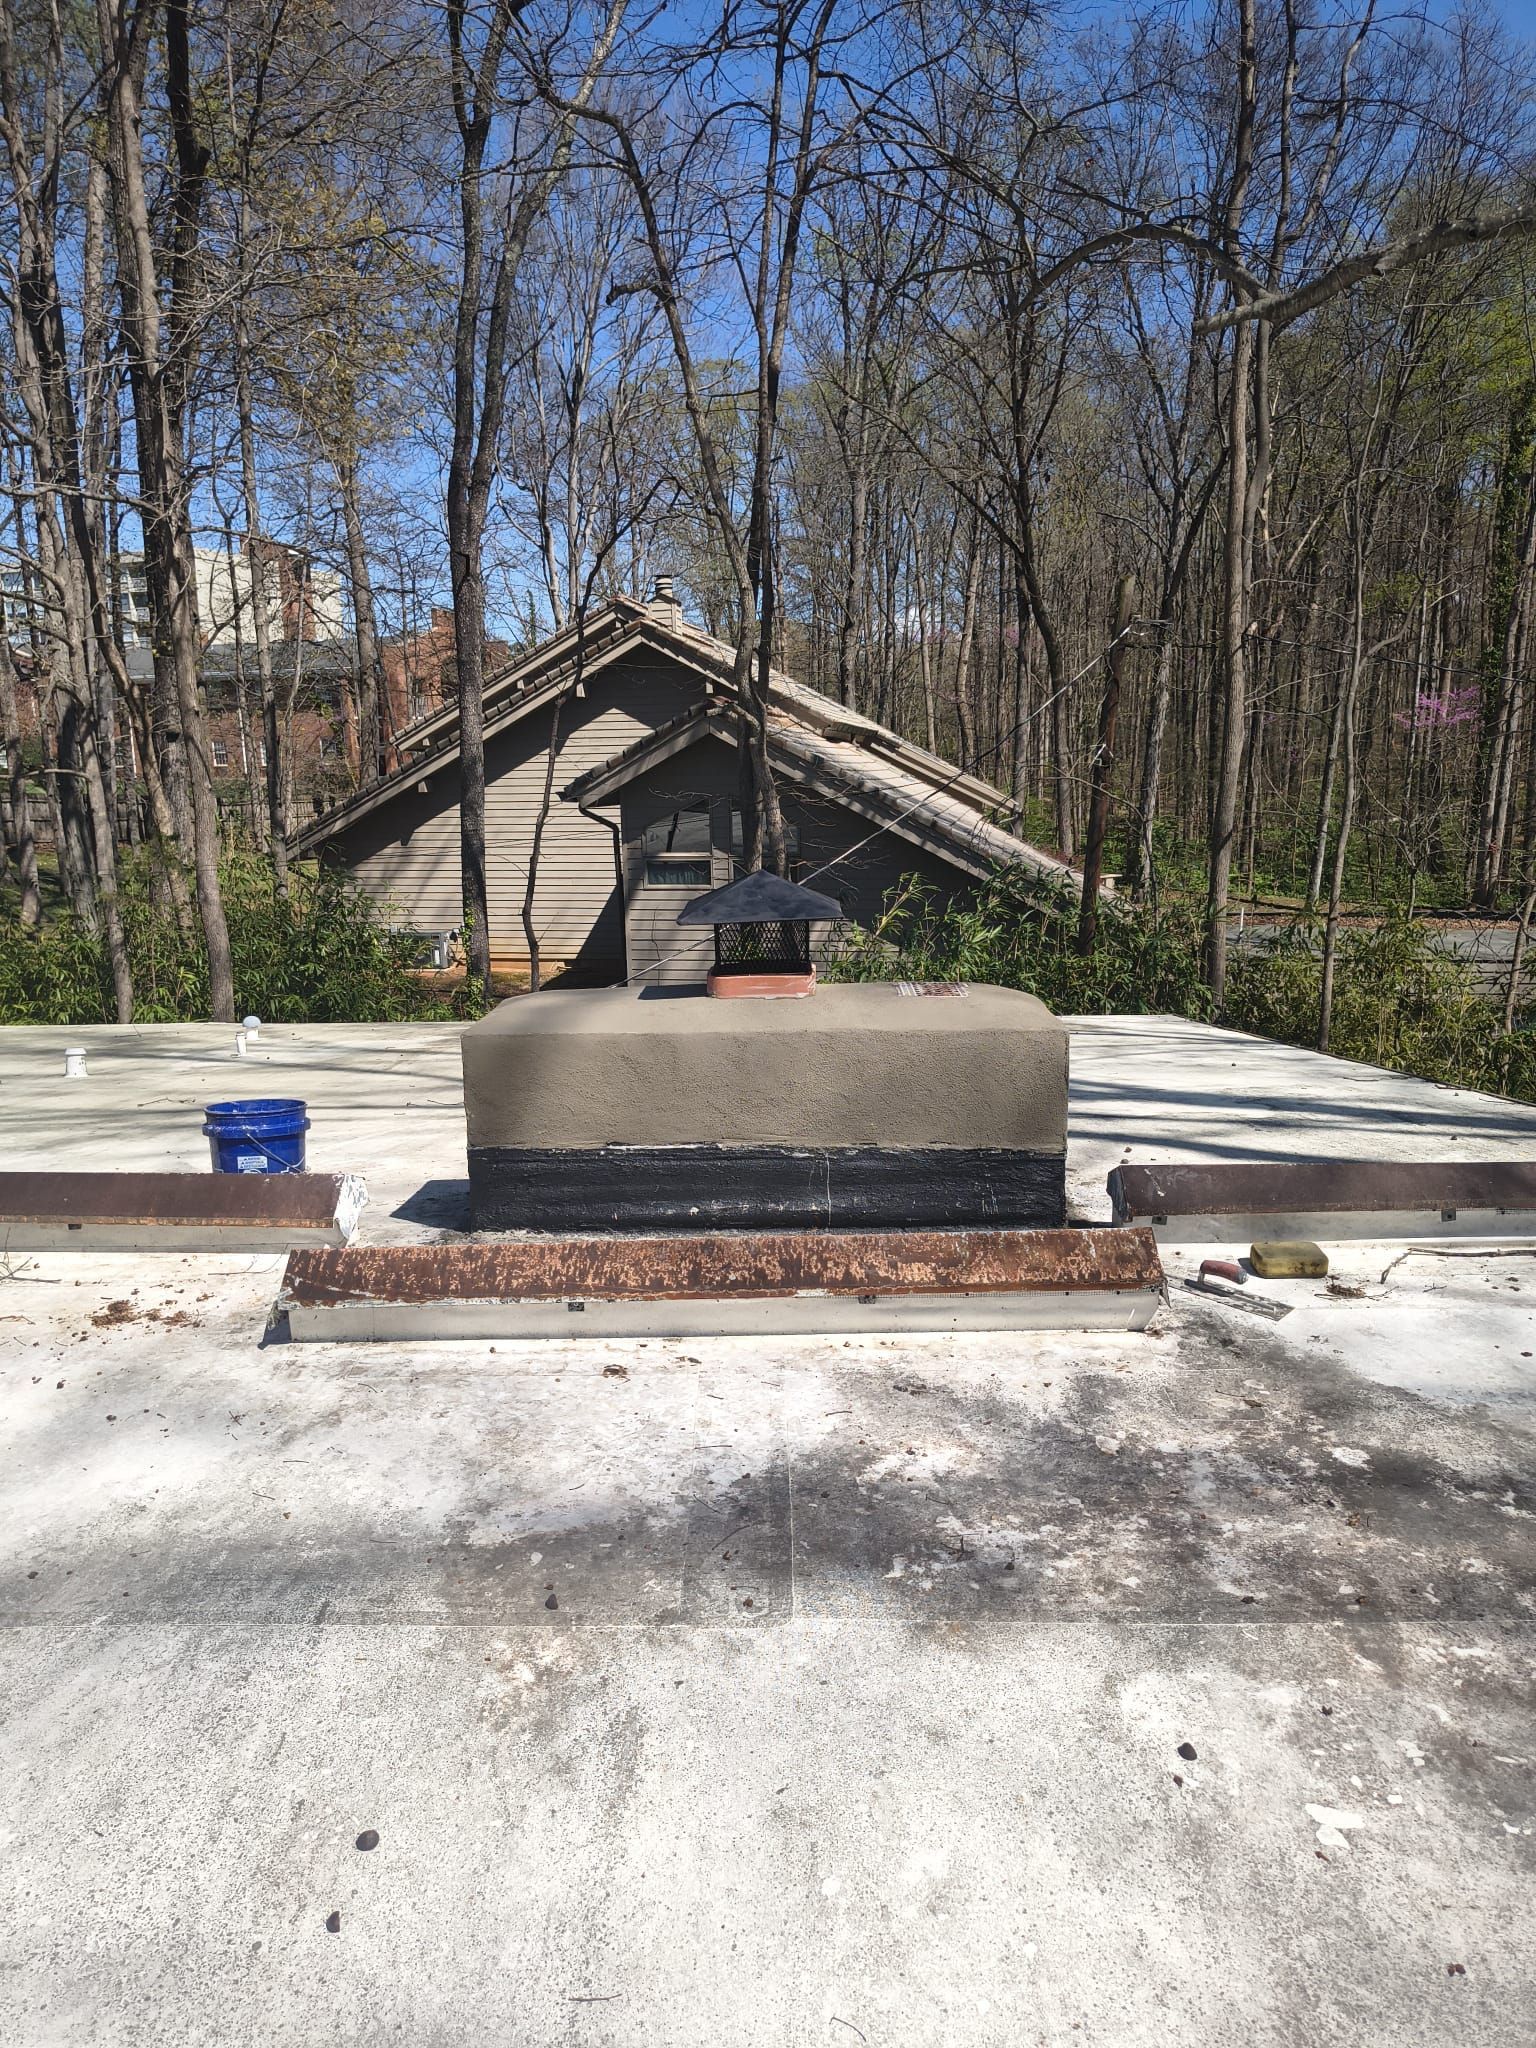
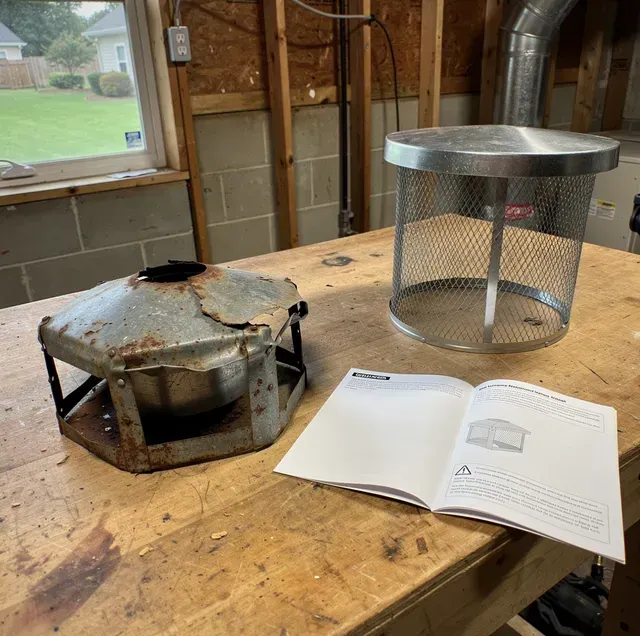
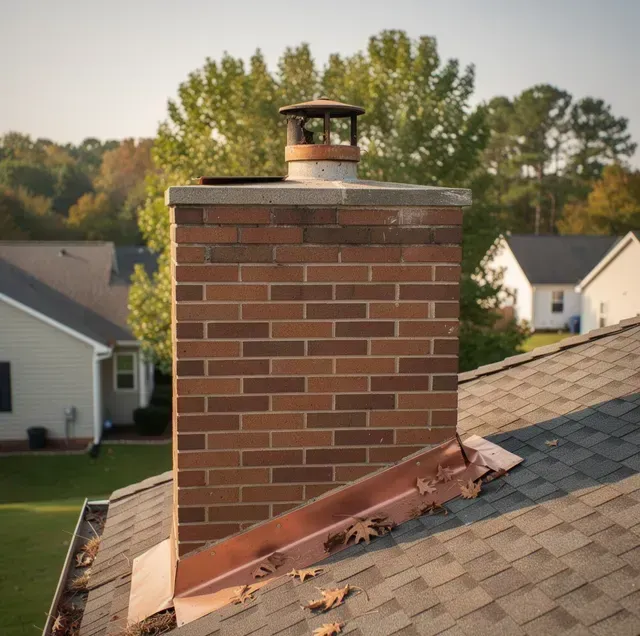
A chimney cap's job is mechanical, not decorative: it has to span the entire flue or crown opening, hold a mesh screen at a consistent distance from that opening on all sides, and shed water off its own edges before any reaches the masonry or metal beneath. When the cap on your chimney is sized correctly, all three of those jobs happen automatically, just from the shape of the part. When it's undersized or oversized, at least one of them stops working, and it usually isn't obvious from the ground.
That's the real difference between a wrong-size cap and a wrong-material or wrong-installation one. A cap can be made from a good grade of metal and mounted with the right hardware, and still fail if its footprint doesn't match what it's sitting on. This is about a cap that's mounted and sized wrong, not a flue with no cap on it at all; an unprotected flue is its own separate problem with its own fix.
What Wrong Size Actually Means on a Chimney
No two chimneys are guaranteed to take the same cap, and the sizing rules differ by chimney type: A single-flue stack needs one cap fitted to that flue's outer dimension, a multi-flue stack needs either several individually sized caps or one custom multi-flue cap spanning the whole crown, and a prefabricated chimney adds a chase cover into the mix alongside the cap on its flue pipe.
Wrong size can mean your cap is too small for what it's covering, too large for it, or roughly the right area but the wrong shape for a crown that isn't a clean rectangle. All three show up as gaps, and the gaps are where the failure starts.
When the Cap Is Too Small
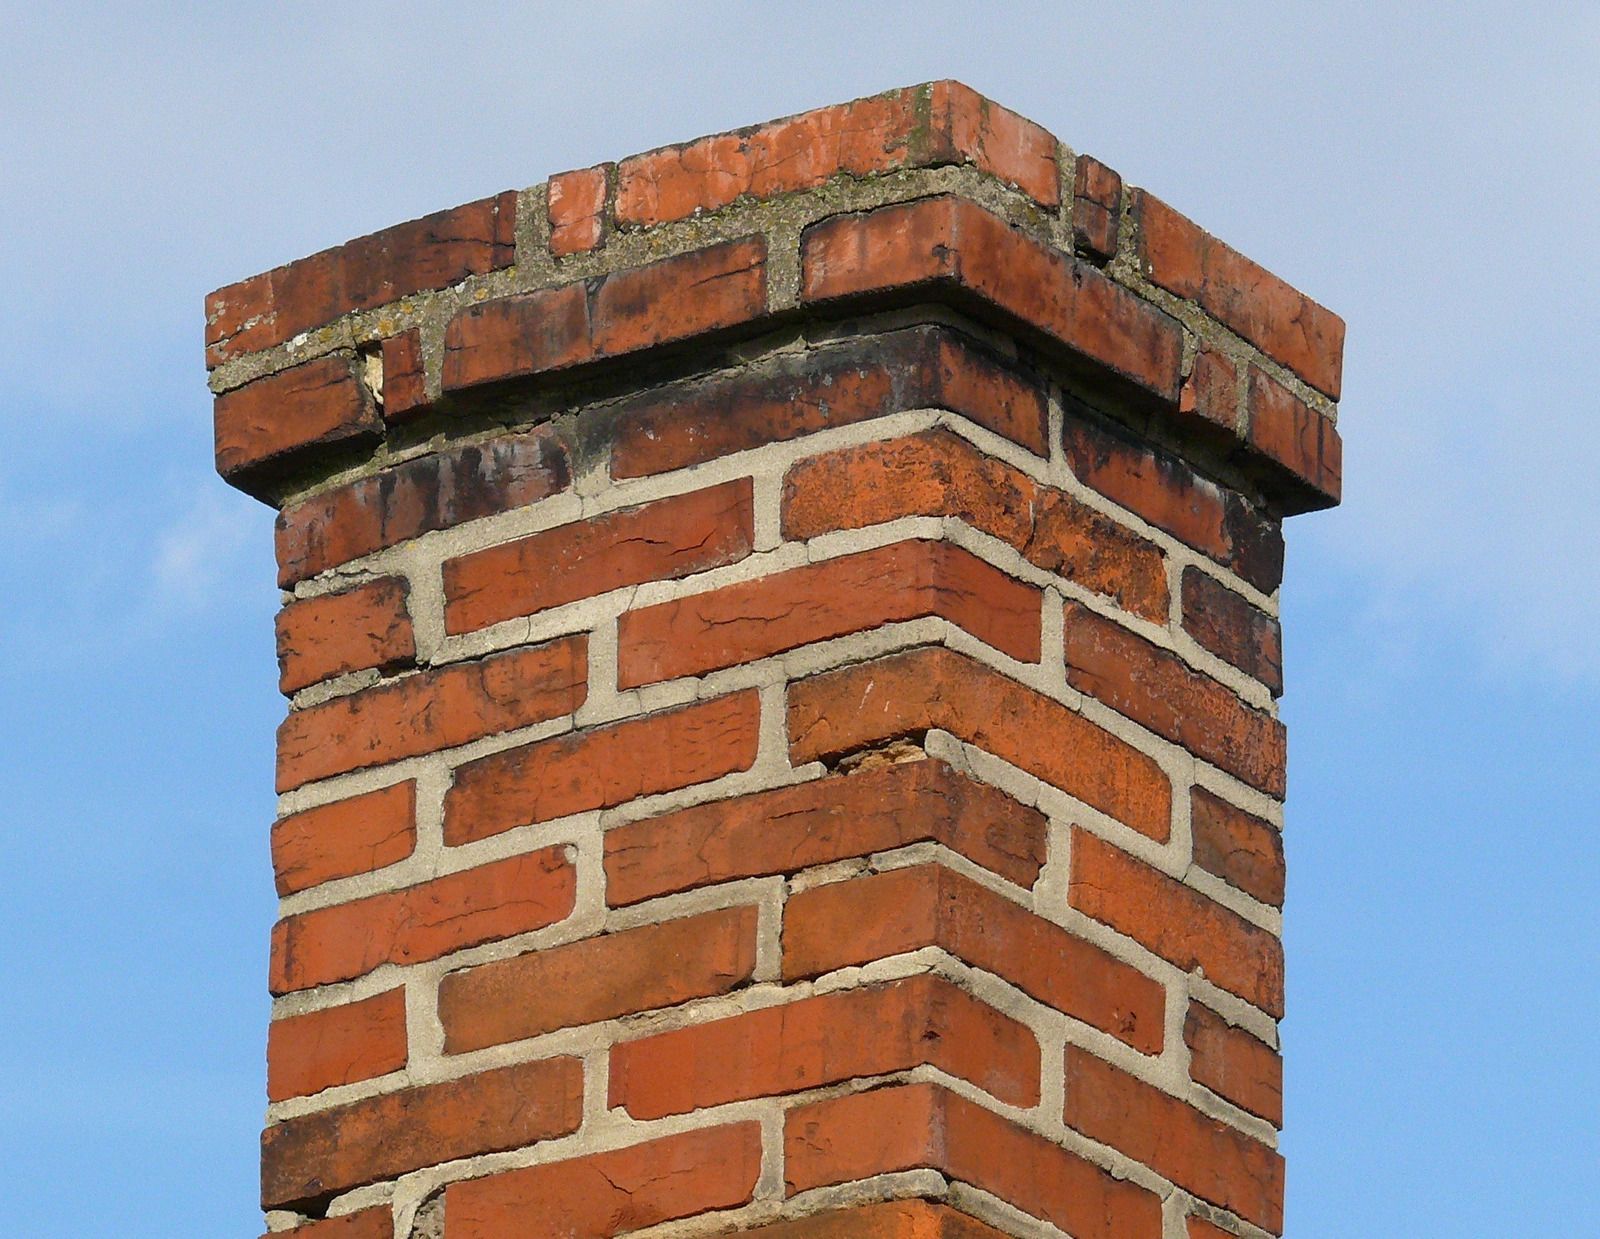
An undersized cap doesn't cover the full width of the flue or crown it's supposed to protect. The most direct result is exposed masonry or metal: whatever edge of the crown or flue tile sits outside the cap's footprint gets rained on directly, with nothing to break the flow of water away from it. Over years, that untouched strip is where a crown can begin to erode or spall while the rest of it stays sound.
An undersized cap also changes what can get past the screen. The mesh: it's supposed to sit at a consistent distance from the flue opening all the way around, blocking animals and embers while still letting smoke and combustion gases draw through freely. If the cap itself is too small, part of that opening can sit outside the mesh's coverage entirely, not poorly screened, but unscreened.
WARNING: A cap that leaves any part of the flue opening uncovered can let hot embers escape directly, bypassing the spark-arrestor mesh altogether. On a wood-burning chimney, that's a fire risk to nearby roofing and vegetation, not just a maintenance issue. (336) 604-6711.
Multi-flue chimneys are especially prone to this. A single stock cap sized to fit an average flue and centered on a crown with two or three flues will often protect the one it's centered over while leaving the others exposed or only partially covered.
The rule is simple and absolute: never burn a fire when the damper is closed, stuck shut, or open only partway. Confirm a clear, full opening before you strike a match, every single time.
When the Cap Is Too Big
Oversized caps fail differently, and the failure is easier to miss because the cap still visually covers everything.
A cap that overhangs well past your crown's edge doesn't seat flush against the surface it's supposed to protect. That extra unsupported edge flexes in gusty weather, and an overhanging cap that isn't seated flush is one of the things technicians find backed-out fasteners under when they're up there for another reason. It also creates a shaded, damp pocket underneath the overhang, where the crown surface can stay wet longer after rain than the rest of the roofline, since both airflow and direct sun are blocked.
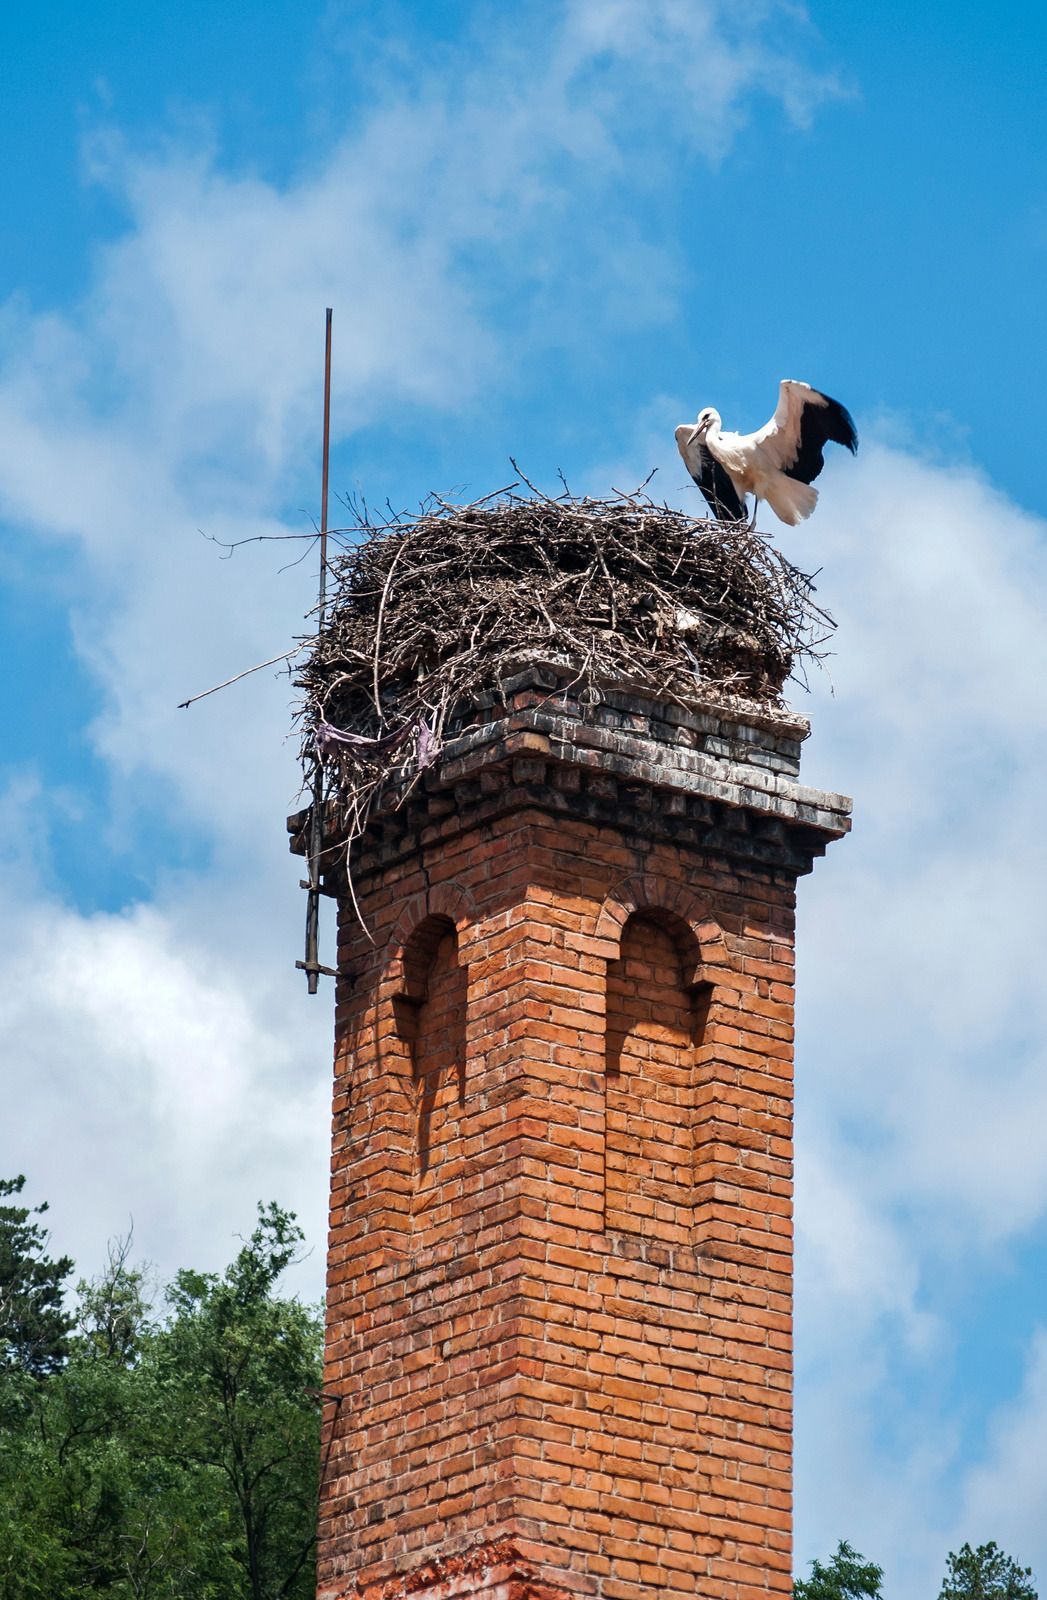
On a multi-flue stack, an oversized cap causes another problem: it's often sized generously enough to cover flues that aren't even in use anymore, such as a capped-off fireplace flue beside an active furnace flue. An inactive flue tucked under a shared lid like that is a spot nobody opens or inspects, so if corrosion starts there, it can go unnoticed far longer than the same problem would on a flue someone actually uses.
The fit problem: An oversized cap on a single flue often sits with a visible ring of daylight around its skirt, which some installers treat as cosmetic and leave alone. It isn't cosmetic. That gap is functionally the same failure as an undersized cap's exposed edge, just caused by the opposite sizing error.
The Effect on Draft, Not Just Weatherproofing
Sizing errors don't only affect water and animals: they can also eat into the open area smoke and combustion gases need to draw through the screen, whichever way the sizing error went. If a fireplace that used to draw normally starts acting up right after a new cap goes on, that's a narrower question than general fit, and it's covered in more detail in this site's article on smoke coming back into the room after a cap installation.
WARNING: Smoke, odor, or backpuffing entering the room right after a new cap goes on means combustion byproducts are reaching living space. Stop using the fireplace and have a technician check the fit before the next fire. (336) 604-6711.
Exact clearance figures vary by manufacturer and by cap style, which is exactly why a stock, one-size cap is a gamble. A certified technician measures your actual flue and confirms what your chimney needs, rather than assuming a shelf product happens to match it.
Why the Wrong Size Ends Up on a Chimney in the First Place
Most wrong-size caps aren't installed by someone cutting corners. They're usually the result of one of a few honest mistakes.
Sight-unseen ordering: A cap purchased online or from a retailer based on a rough tape-measure guess from the ground, rather than measured directly at the crown, is the single most common cause. Chimneys are rarely perfectly square, and a measurement taken at an angle from a ladder or through binoculars can be off by more than a cap's tolerance allows.
One-size assumptions on multi-flue stacks: Treating a two- or three-flue crown as if a single universal cap will cover it, when it actually needs either a custom multi-flue cap or individually fitted caps per flue.
A crown that has moved since the cap was fitted: In climates with repeated freeze-thaw cycles, small cracks in a crown widen a little more each winter as trapped moisture expands and contracts. A cap that fit well when it was installed years ago can end up mismatched with a crown whose effective edge has shifted, without anyone ever touching the cap itself.
Real estate timelines: A cap installed quickly to satisfy a closing deadline, without either party present for the on-site measurement, sometimes gets fitted from a stock size rather than a custom one when the transaction timeline is tight.
What Correct Sizing Looks Like at the Crown
A chimney cap's size isn't something you can eyeball from the driveway or approximate with a shelf product and expect to match every time: it's a measurement problem first, and a materials-and-installation problem second. A cap made from a good grade of stainless or copper still fails at its one job if the footprint underneath it doesn't match the crown or flue it's sitting on. Getting the size right at the start is what lets everything downstream actually work the way the part was designed to: water shedding, animal exclusion, and airflow through the screen.
Frequently Asked Questions
Why would a technician round up to a bigger stock size instead of ordering an exact match?
It usually comes down to timing: custom stainless and copper caps typically take a few business days to fabricate, while a supplier's nearest stock size can go on the same visit. On a single flue, that rounding is exactly what produces the ring-of-daylight oversizing described above; it isn't limited to multi-flue jobs.
How can I tell if my cap doesn't match my flue without getting on the roof myself?
A Level 1 inspection with a camera usually catches it from inside: a technician looking up the flue can see whether the cap's coverage is even relative to the tile or liner, and photograph water staining or rust trails on the interior surfaces that point to a gap at the top even when the cap looks fine from the ground.
Can insects use the same gap that lets water and embers through?
Yes, and it's a different opening than the mesh screen was designed to guard. The mesh protects the flue opening itself; the gap under an oversized cap's overhanging skirt, where the lid sits away from the crown surface, is a separate space that no part of the cap is meant to screen. Paper wasps and other nesting insects can build there simply because nothing blocks the opening. An undersized cap creates an even more direct path: the strip of crown or flue tile outside the cap's footprint is open air with no barrier at all. Either way, a nest turning up near a cap's edge points to a sizing mismatch, not a pest problem on its own.
Can a wrong-size cap be re-fitted, or does it have to be replaced?
It depends on which dimension is off. A cap that's actually the wrong footprint for its flue or crown usually has to be refabricated to the correct size, since resizing the housing itself isn't something that happens on site. A cap that's the right size but simply mounted off-center, sitting proud of the crown edge on one side, can often be reset without ordering a new part. A technician checks fit against the crown or flue tile before deciding which one applies.
If my cap is the wrong size, does that mean it was installed wrong too?
Not necessarily. Sizing and mounting are two separate points where errors can occur, and a technician checks both independently: the flue tile's outer dimension for a single-flue cap and the full crown footprint for a multi-flue or chase-mounted one. A mis-order usually gets the flue tile measurement wrong, since it's harder to read accurately from the ground than the crown's overall shape.
How long does a top-mount damper gasket last?
The rubber gasket on a top-mount damper generally holds its seal for several years before sun, heat, and weather harden it. When you notice new drafts or water after years of a tight seal, a flattened gasket is a common culprit and can be replaced without swapping the whole unit.
Schedule a cap-fit inspection — a CSIA-certified technician can measure your flue or chase on site and confirm whether your current cap actually matches it. Perfect Chimney Cleaning serves Greensboro, High Point, and Winston-Salem. Call (336) 604-6711.
Recent Posts